

CUSTOMER QUERY
The customer query is one of the most powerful tools in the SOS package, allowing you to search the database and generate reports based on almost every field in the customer record. While simple to use, a basic understanding of all the features will make your day-to-day functions and reporting requirements much easier. This page will walk you through generating and saving a query and a report, and show you how to export the data into several different formats. At the bottom, you can explore some of the more advanced features.
How to Open a Customer Query
How to Generate and Save a New Query
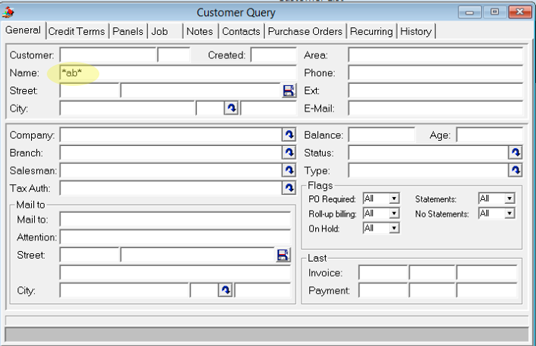
The * Wildcard
Saving the Query
How to Create and Save a New Report Layout
Difference between a Query, Report With Query and Report Without Query
Report With a Query
Report Without a Query
How to Print and Export Your Results
Advanced Query Features
Query Wizard
Go to a Customer Record from the Query
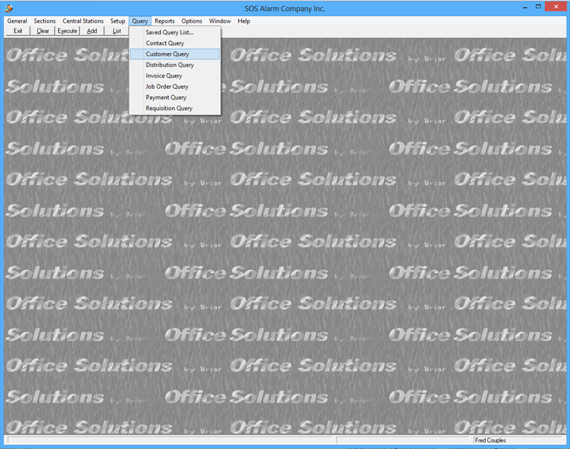
Step 1: Opening a Customer Query
|
Go to the top menu bar. Select Query->Customer Query. |
 |
||
|
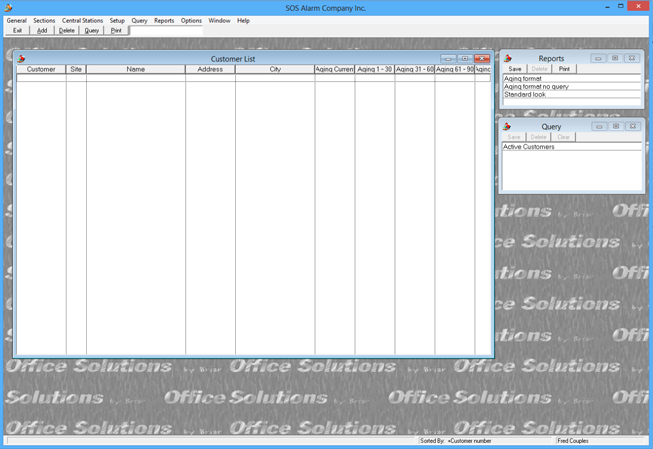
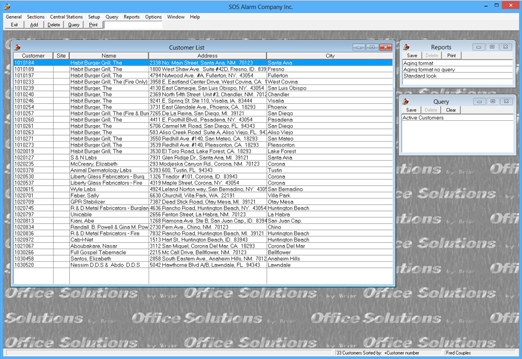
The query screen will open up. To the side of the "Customer List" results window, you will see your saved reports and your saved queries.
|
 |
||
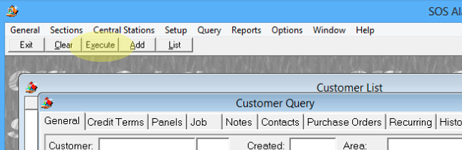
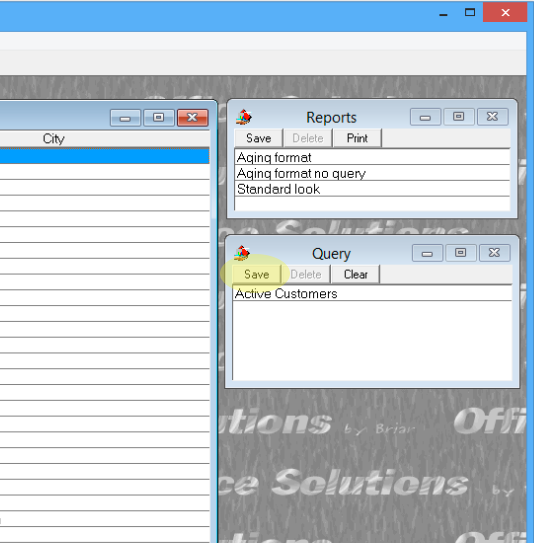
| To bring up a new query window, select the query button underneath the top menu bar. | 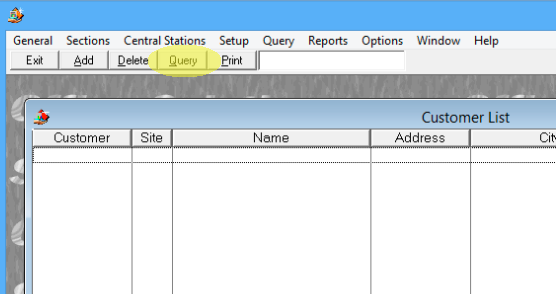 |
||
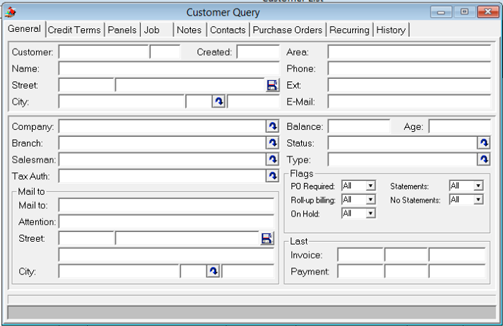
| This will bring up your query window. | 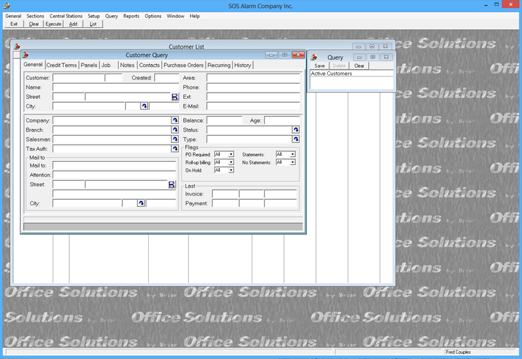 |

Step 2: Executing and Saving a New Query
Step 3: Creating and Saving a New Report
REPORTS: When you create a report you decide which information from the query you want to display. This is where you filter which fields you wish to see. REPORTS SAVED WITH A QUERY: When you create a report, you are given the option to save it with an associated query. This means that every time that report is run, it is automatically requesting a certain data list. For example, you know that you frequently run an aging report for active customers, you can create an "Active Customers Aging Report" and save it associated with the "active customers" query. With one click, the report will display. REPORTS SAVED WITHOUT A QUERY: Likely, there will also be reports which you wish to run with multiple query lists, such as a mailing list report. One day you may need to send a mailing out to all active customers and, on another day, only customers who receive a certain service. In this case, you would create a "Mailing List Report" and not save it with a query. When you need to run it, you can select the report, and then choose the data you want from your saved query list. |
 |
||
| CREATING THE REPORT. To create a report, you are going to use the Options-> Format List feature. | 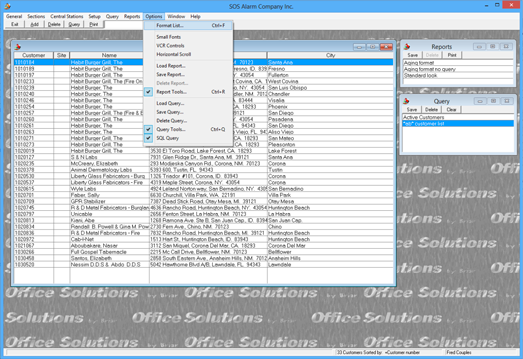 |
||
| The Format List window will pop up. On the left side is a list of all the available fields that you can include in your report. The right side of the list are the fields that have been selected. | 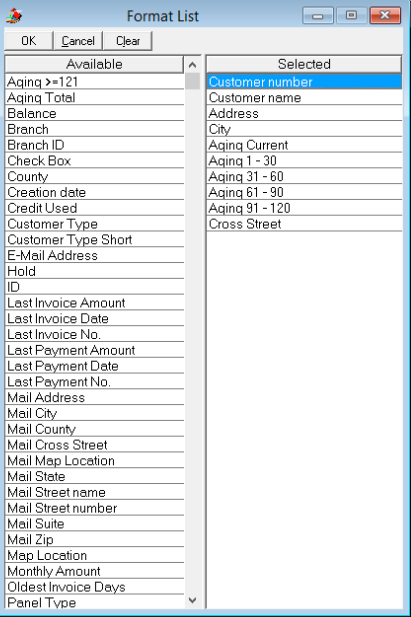 |
||
| You adjust which fields you want to include by dragging and dropping your selection from one side to the other. Press the "OK" button when done. |  |
||
| The "Customer List" display window will redraw with the newly selected fields. | 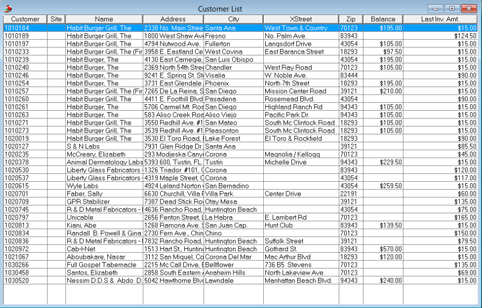 |
||
| To save this report so that you can access it again, you will press the "Save" button on the small Reports window. | 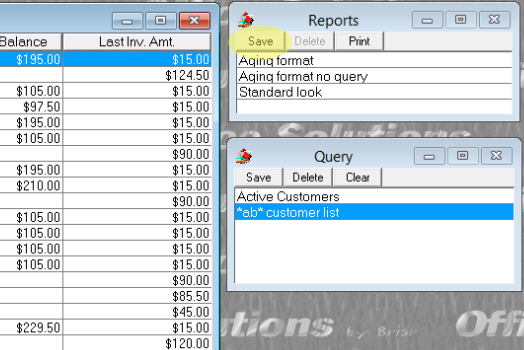 |
||
|
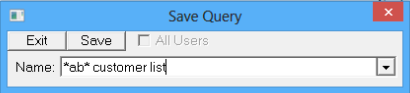
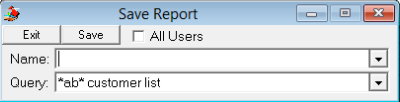
A prompt will appear allowing you to name this report. This is also where you will save the report with a query. More
information about saving a report with a query can be found at the beginning of Step 3. In short, if this is a report
with which you will only ever use one data set (or query), then save that query with the report. The data request will run
simultaneously when you select the report. |
 |
||
| For our first example, we will create a report that will only ever be used to display our *ab* customer list data. We will name this report: *ab* report format and press save. | 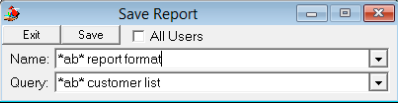 |
||
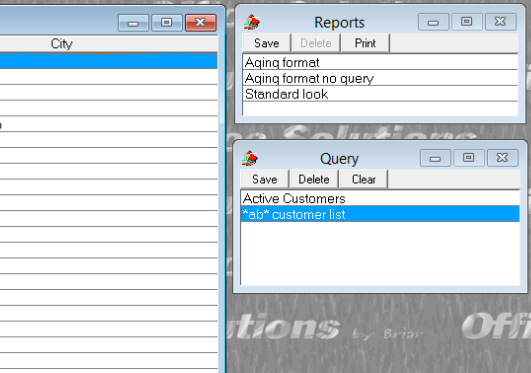
| The new report has been saved to our report list. | 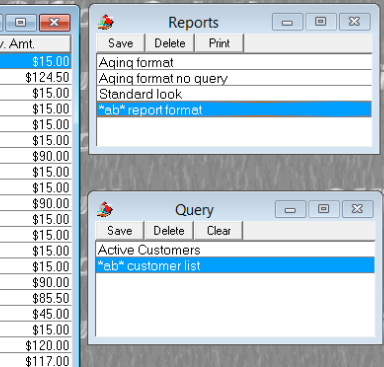 |
||
| If after saving a report you would like to make a change to the fields you have included, return to Options->Format List, adjust your fields, and hit OK. | 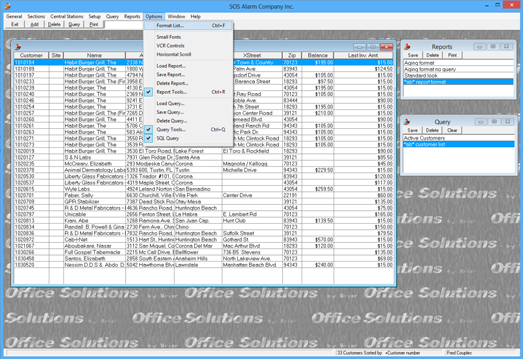 |
||
| The "Customer List" display window will update. Press save on the reports window to save your changes. | 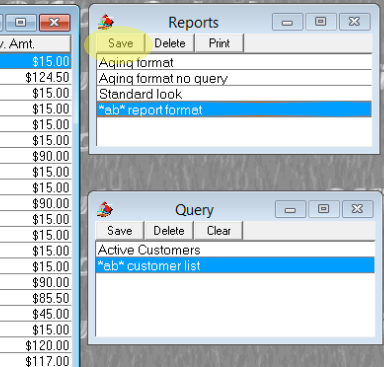 |
||
| When the name prompt appears, be sure that the report name matches the name of the report that you wish to update. | 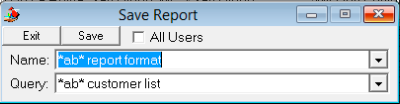 |
||
| The software will confirm that you wish to overwrite the formatting of the report. Press "Yes" and your report will be updated. |  |
||
| To save a report without a query, simply delete the query from the query field. | 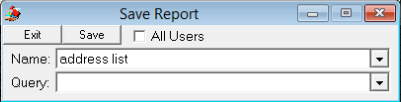 |
||
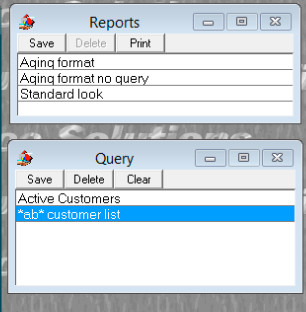
| The report will then execute using whichever query is selected. In this shot, the report is running an "address report" from the second saved query, the *ab* customer list query. | 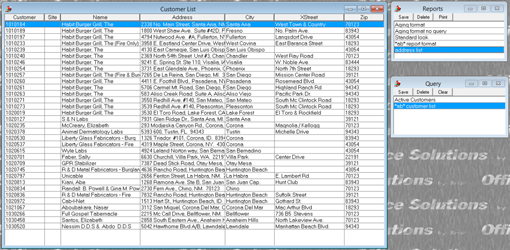 |
||
| To change which data is displayed, you can create a new query or select another query from your saved list. | 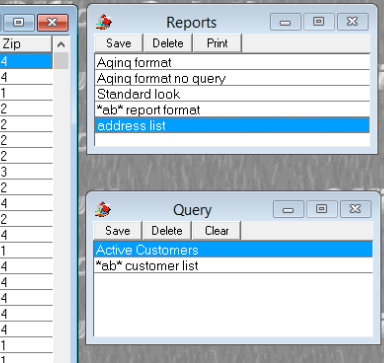 |
||
| The data in the "Customer List" display will be updated. | 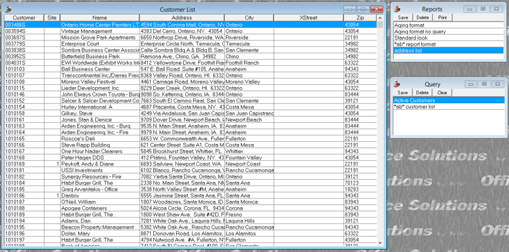 |
Step 4: Printing and Exporting Your Report
| To begin the printing and export process, press the print button in the query menu bar. | 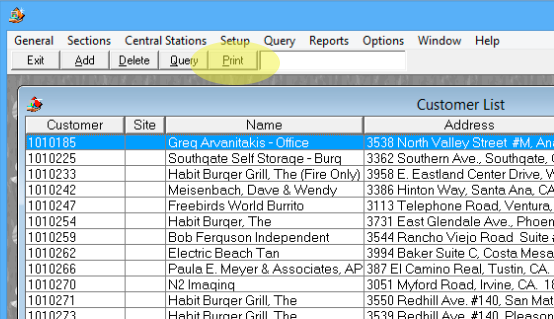 |
||
The print menu will pop up.
|
 |
||
| Selecting the Print button will send the document directly to the printer; the Preview button will allow you to preview the report. | 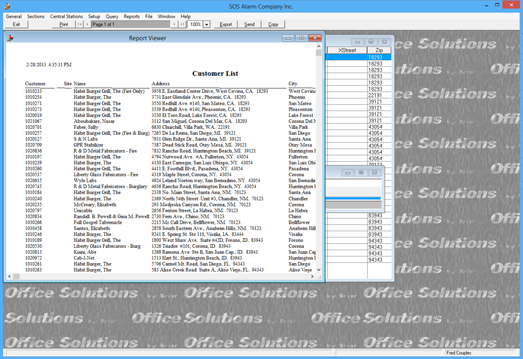 |
||
| You can also export your report to another format by pressing the Export button in the report menu bar. | 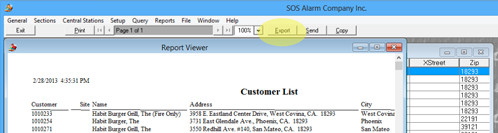 |
||
| Select which format you would like and press Ok. | 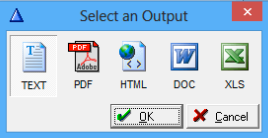 |
Step 5: Advanced Query Features
|
QUERY WIZARD. SOS has a built-in tool to make more complex queries simple to execute.
This is an example of running a query based on the invoice date for a time period of January 1, 2013 - February 28, 2013.
First, find the invoice date field. Since this is a query based on historical data, you will find it on the "History" tab. Because we are searching an invoice date, it will be found on the "Invoices" sub tab. Place the cursor in the Invoice Date field. | 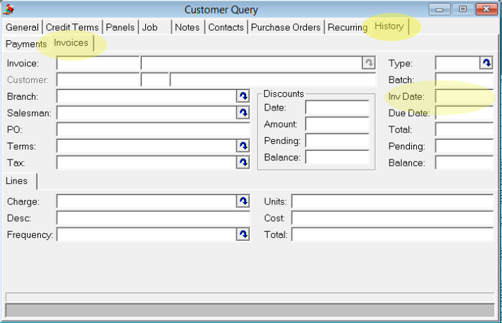 |
| If you're using a PC, press the "Insert" Key. On a Mac, press the "fn" and "return" key. This will launch the query wizard. | 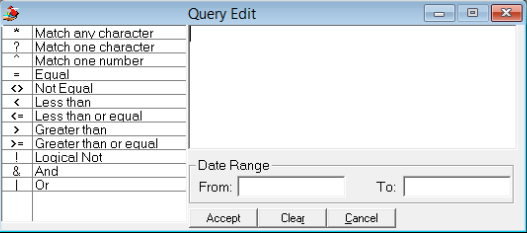 |
| For this example, we will use the date range feature. Here we have entered the start date. If you wanted all invoices sent out after 1/1/2013, you could end the wizard at this step. | 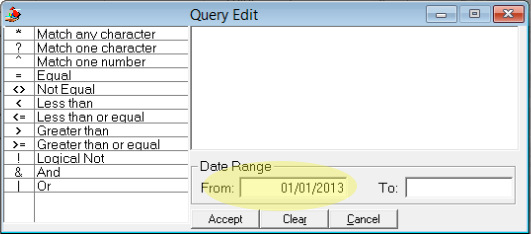 |
| Now enter the end date for the date range. You will see the query begin to build itself in the window above as you move to the next field. When you finish building your query, press the "Accept" button. | 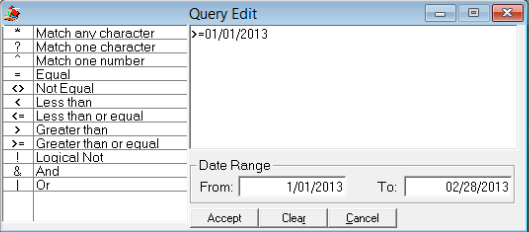 |
| The query information has now been entered into the Invoice Date field. You can continue to add more constraints or press the Execute button to execute the query. | 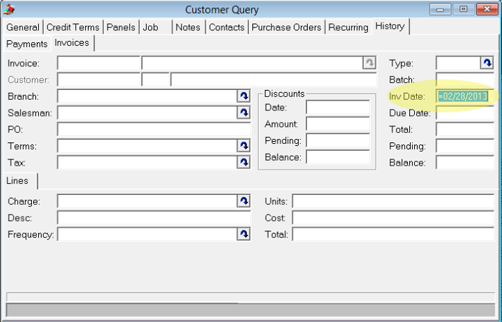 |
| GOING DIRECTLY TO THE CUSTOMER EDIT SCREEN. SOS makes it easy to move from one area of the program to another, speeding up the time it takes you to complete your tasks. To go directly to the F2 customer edit screen, double click on a customer data field in the query's "Customer List" results screen. | 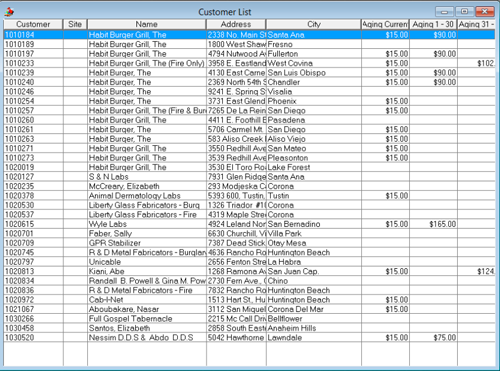 |
| On the top part of the screen you will find the Customer Edit window, populated with the selected record. | 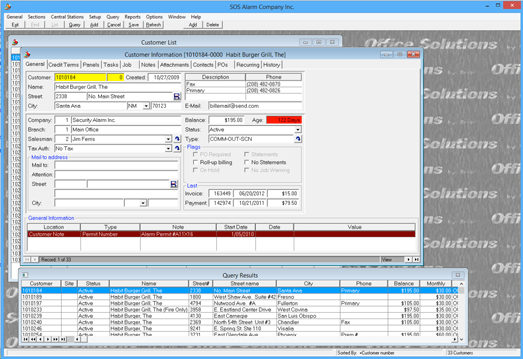 |
| You will also notice below, that the "Customer List" from the Customer Query has been transferred to the "Query Results" box underneath the Customer Edit window. You can now select and edit all the records that you had queried. | 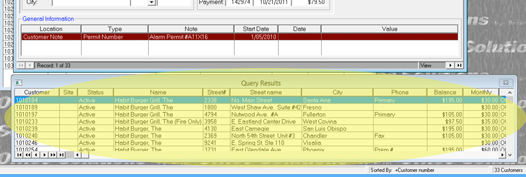 |
| To return to the Customer Query, close the Customer Edit window by clicking on the red x in the right corner. | 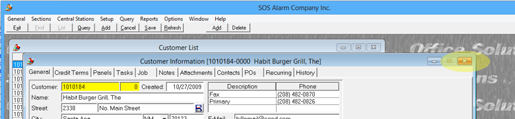 |